Blitzway Ghostbusters trap holsters

Custom One-Sixth Figures Forum

Help Support Custom One-Sixth Figures Forum:

This site may earn a commission from merchant affiliate links, including eBay, Amazon, and others.
wow...I didn't know you could attach the trap to them as well, thought it was just decoration! Impressive Alice!
 
wow...I didn't know you could attach the trap to them as well, thought it was just decoration! Impressive Alice!
Thanks.

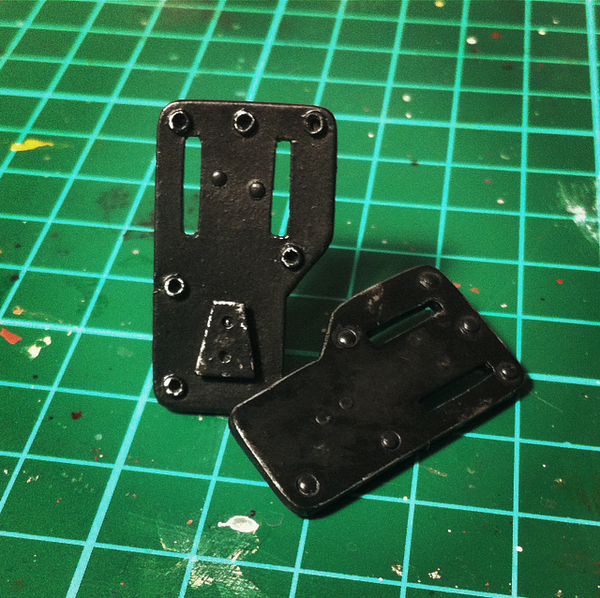
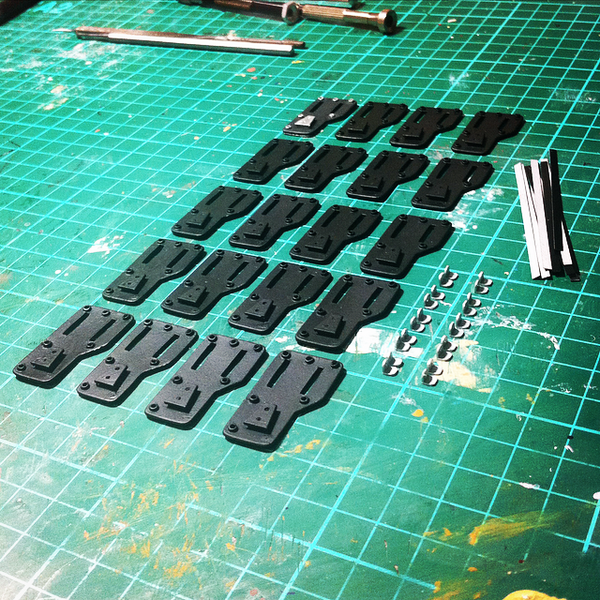
Mounting brackets made, and straps just need ends rounded. Based in black and starting to add backing plates. Need to stop by the hobby shop and get more styrene for the plates. May take a bit longer than planned to get them done, but I believe they will be better for the extra effort.

Xi5aRP8.jpg
 
It's not too late, but I'll be doing them in batches of ten orders at a time. Once I get finished with this batch, I'll start on order 11 onward. If I try to do too many at once it kills the workflow, and slows the whole process down.
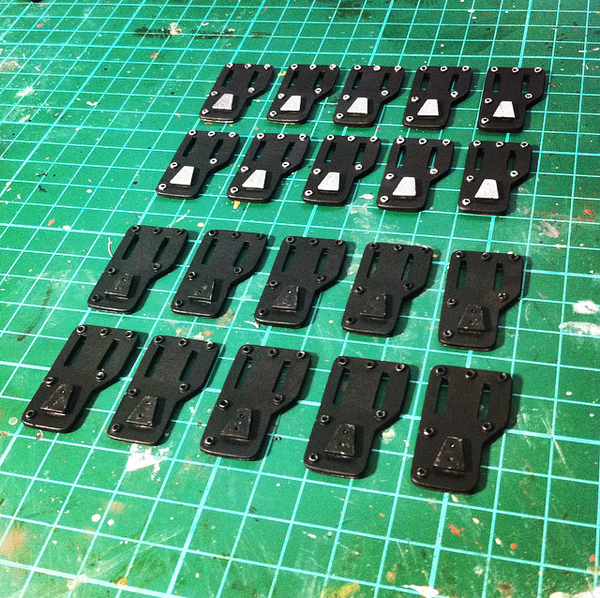
 
It's not too late, but I'll be doing them in batches of ten orders at a time. Once I get finished with this batch, I'll start on order 11 onward. If I try to do too many at once it kills the workflow, and slows the whole process down.
Cool thx.
 
It's not too late, but I'll be doing them in batches of ten orders at a time. Once I get finished with this batch, I'll start on order 11 onward. If I try to do too many at once it kills the workflow, and slows the whole process down.

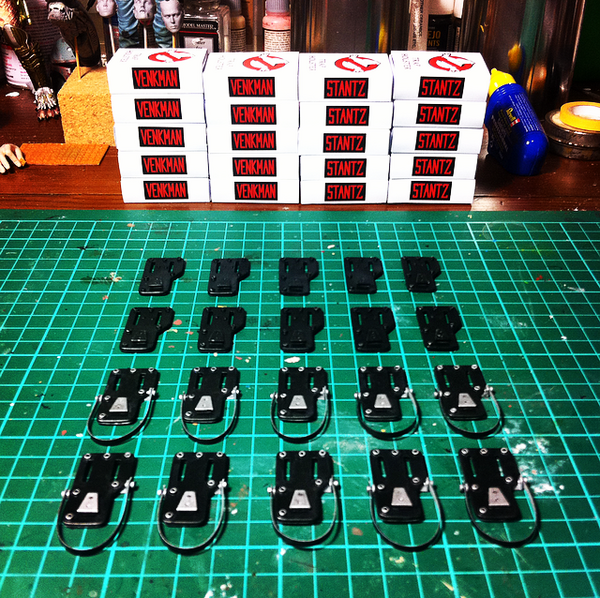
Put me down for one of each for your second run.

Thanks!
 
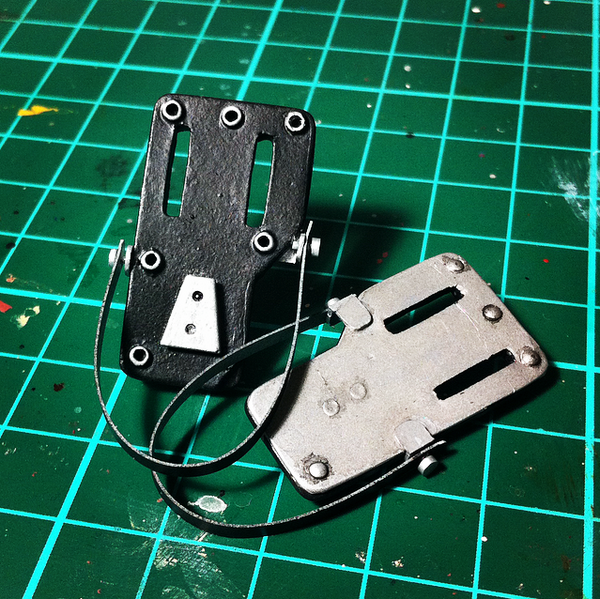
I work weekends, so this is a bit of Monday progress. Painting on the front sides is done. Rivets have been added to the backing plates of the Stantz holsters. Adding extra buttons to the Venkman holsters, and then rivets to the backing plates now. Then on to painting the backsides, weathering and adding the straps to the Stantz holsters.

507SQnB.jpg
 
Well, tiny setback. I got most of the work done today. Only things remaining are weathering and Stantz straps. As I said earlier, I was planning to use metal pins for the strap buttons, but they just don't seem to be working out. I've tried several methods, and none of them are as dependable as the styrene pins I made on my original. That means I'll be making individual pins one at a time, which will slow me down a tad.

I'll write a little tutorial about how to attach and remove the straps. Nothing too complicated, but just the best method to handle the styrene pins.

Might be able to finish these up tomorrow.
 
Another small modification I did that I forgot to mention in my last post. I made the straps a tad longer. On my original it's pretty snug.

Due to not being able to use metal pins like I wanted, I made the strap a bit longer, so you can slide the trap in and out without having to unpin the strap. On my original, I'm not able to do this, because the knobs on the sides of the trap prevent it from fitting through. Making the strap longer means you won't have risk the pin breaking if you want to attach or remove the trap for different poses. The right side pin has been glued in place, but the left side pin can still be unpinned if you want. Just be careful when doing so.
 
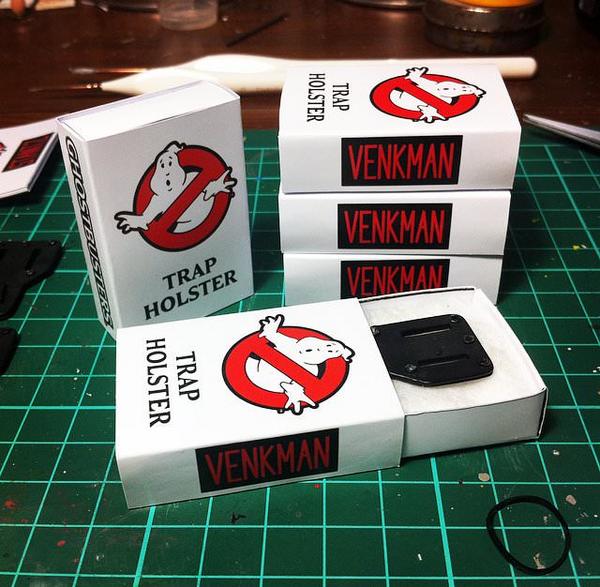
The boxes are a great addition! Patiently waiting for the second run to begin.
 
Back
Top