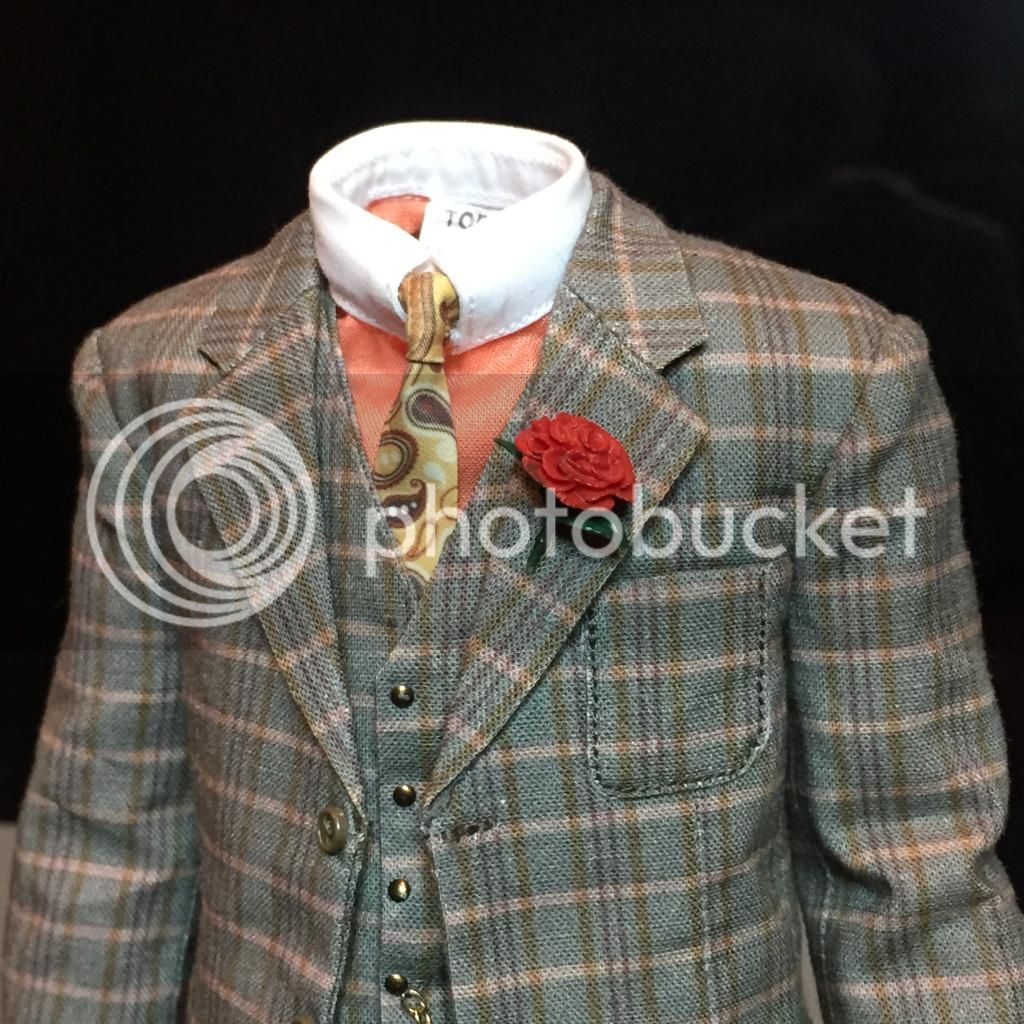
Boardwalk Boss Carnation

Custom One-Sixth Figures Forum

Help Support Custom One-Sixth Figures Forum:

This site may earn a commission from merchant affiliate links, including eBay, Amazon, and others.
CARNATION PAINT AND ASSEMBLY OFFER
$5


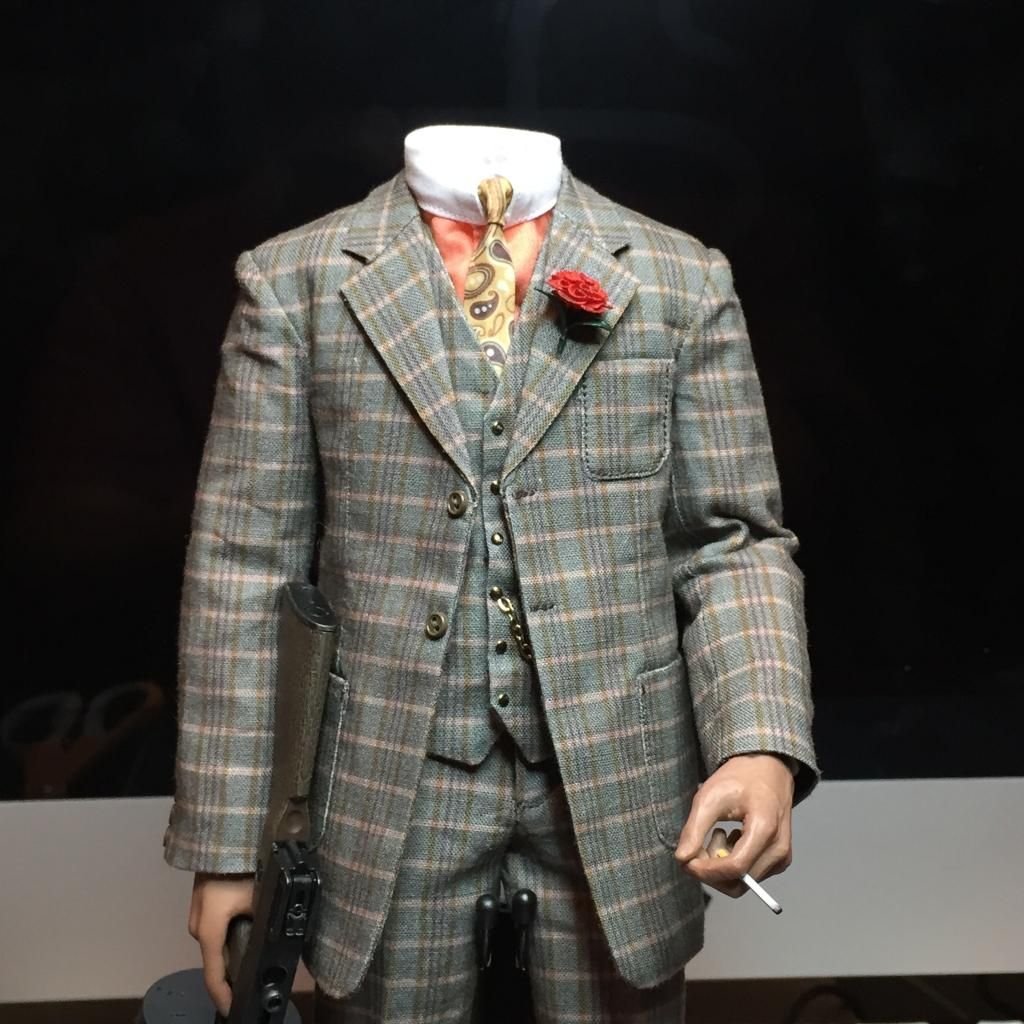
Hey Fellas! So my friend is the one who created the carnations for this project and I see that many of you don't want to worry about putting these flowers together. I've already put the proto type together and would have no problem assembling carnations for those who don't want to. I would paint them, glue them together and glue the magnets on. It's really not that difficult..but if you are not comfortable or dont want to buy paint for this little thing..this option is here for you. All you would need to do is place them on your suit jacket when the time comes. If you are interested in this service...it will only be $5 so I can get supplies and stuff.

My paypal is: [email protected]
**Please send as gift and in the notes put your SSF name and Real name so I can mark your carnation off when it arrives to me and let Rob know also who gets what.


PAID LIST:
Gido
Hunterdnrc
Edub
Paul1987
Croozer


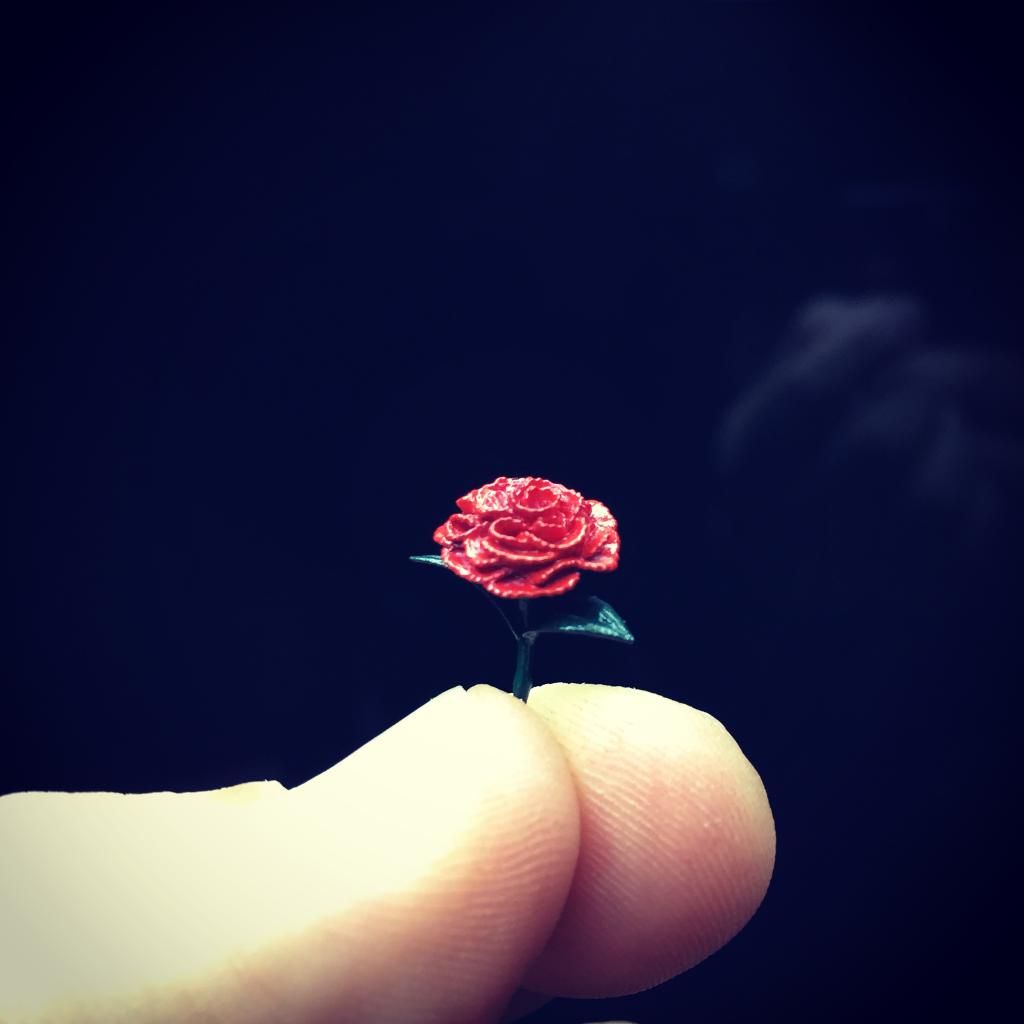
Proto Paint. Buying better paint for this so red and green may differ slightly.
 
Last edited:
Monay for cornation paint and assamblay sent.Please confirm!

I have not received anything yet Gido...will let you know here when I do.
Carnations are still being printed...should be any day now...Thanks for your patience!

Edit: Money Received!
 
Last edited:
Payment received Hunter and Edub!
Thanks!
 
Last edited:
CARNATION ASSEMBLY GUIDE

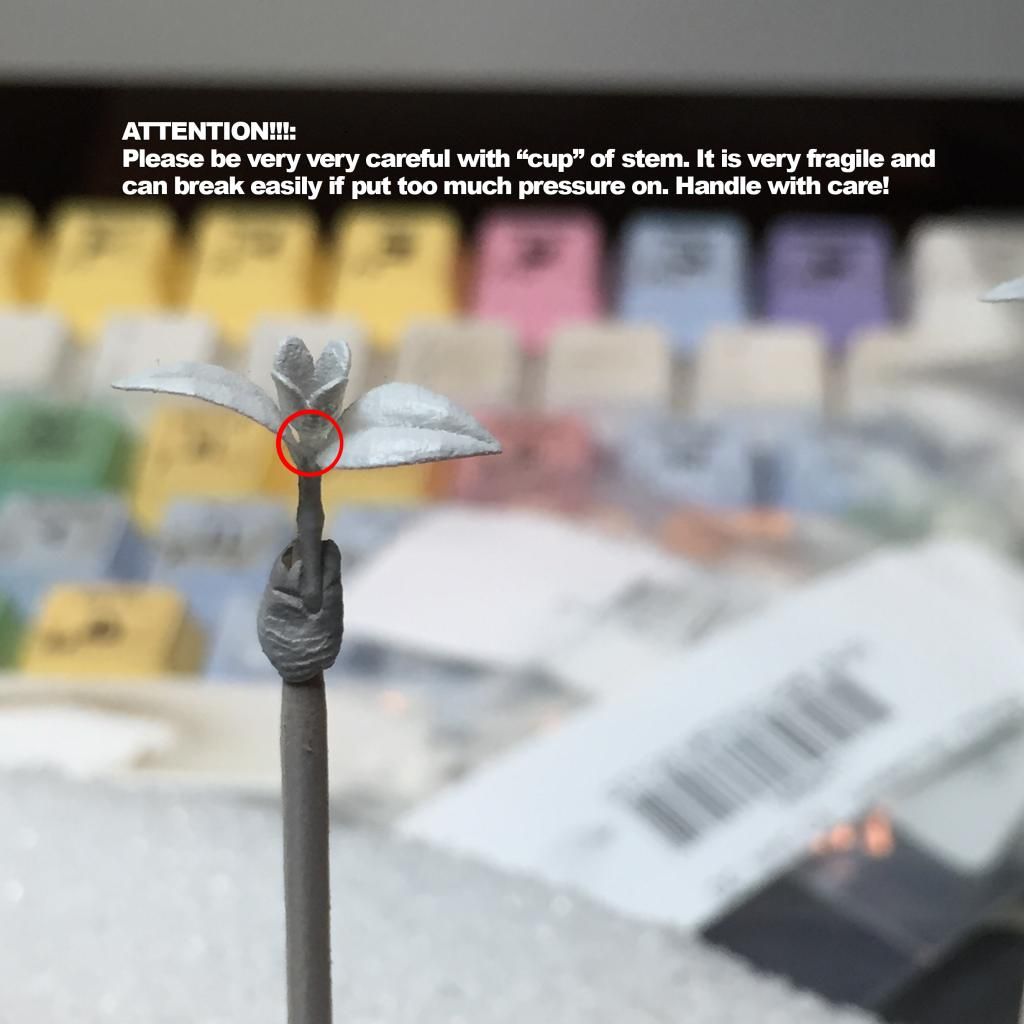
Hey guys...Just wanted to share some quick CARNATION ASSEMBLY instructions that can help you put this baby together without the headaches I went through. It's pretty simple really, but I want to warn you guys that the STEM part of the carnation is very fragile if you apply too much pressure to it. The flower cup area mostly. the stem and leaves are pretty flexible and give quiet a bit for the size. So please make sure you handle that area with care and TAKE YOUR TIME in building these.

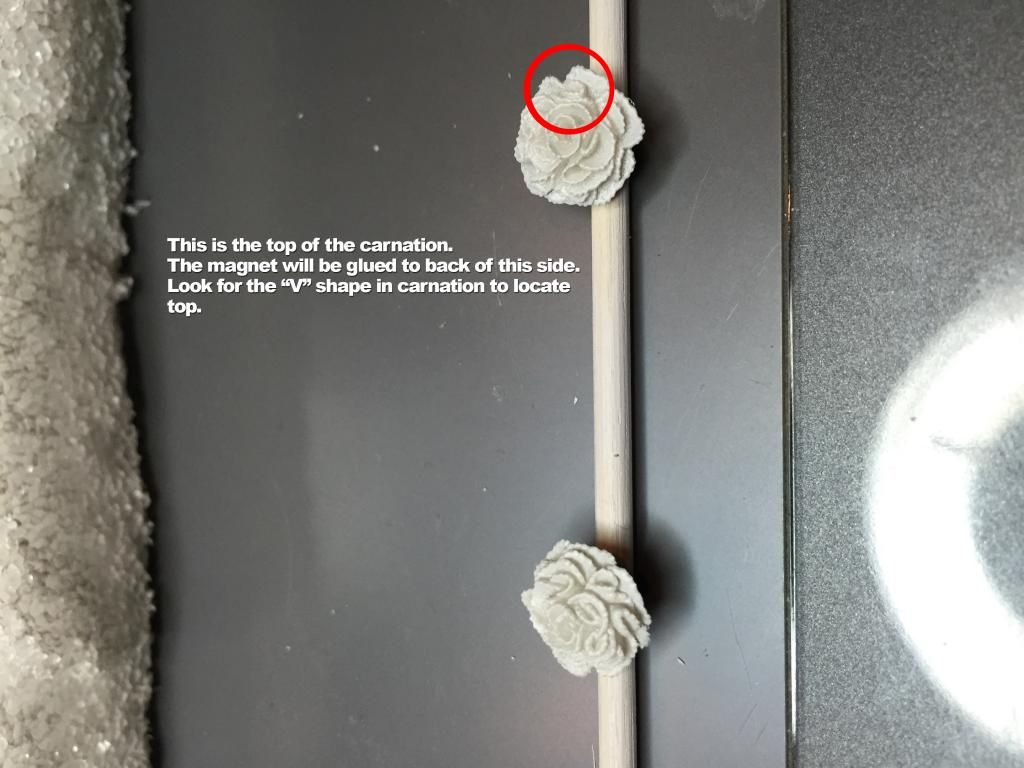
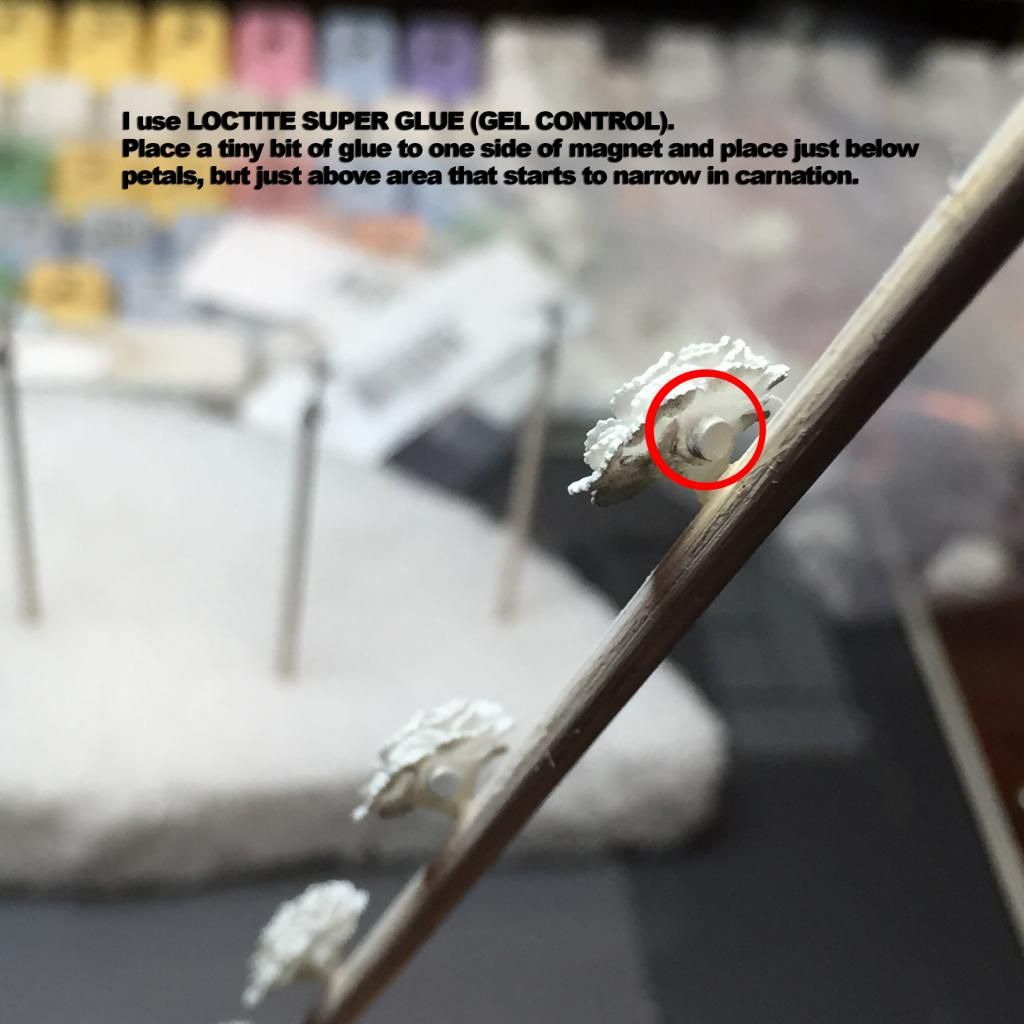
What I did...and you dont have to do it this way if you have a more efficient or your own style of painting...is i first located the back of the carnation (use pics below as a guide) and i glued one of the magnets as pictured. I did this first because during the test phase of these carnations I glued the magnet last and the damn strength these little things have is incredible....literally ripped the paint off when trying to move magnet off. So this way the magnet is secured to the actual 3D print. I then painted the flower part red and the stem part green..let that dry for a day
Finally, I took the stem and dabbed glue on the four sides of the cup that holds the flower. Again...please be careful with this area as it is the most fragile part of the carnation.
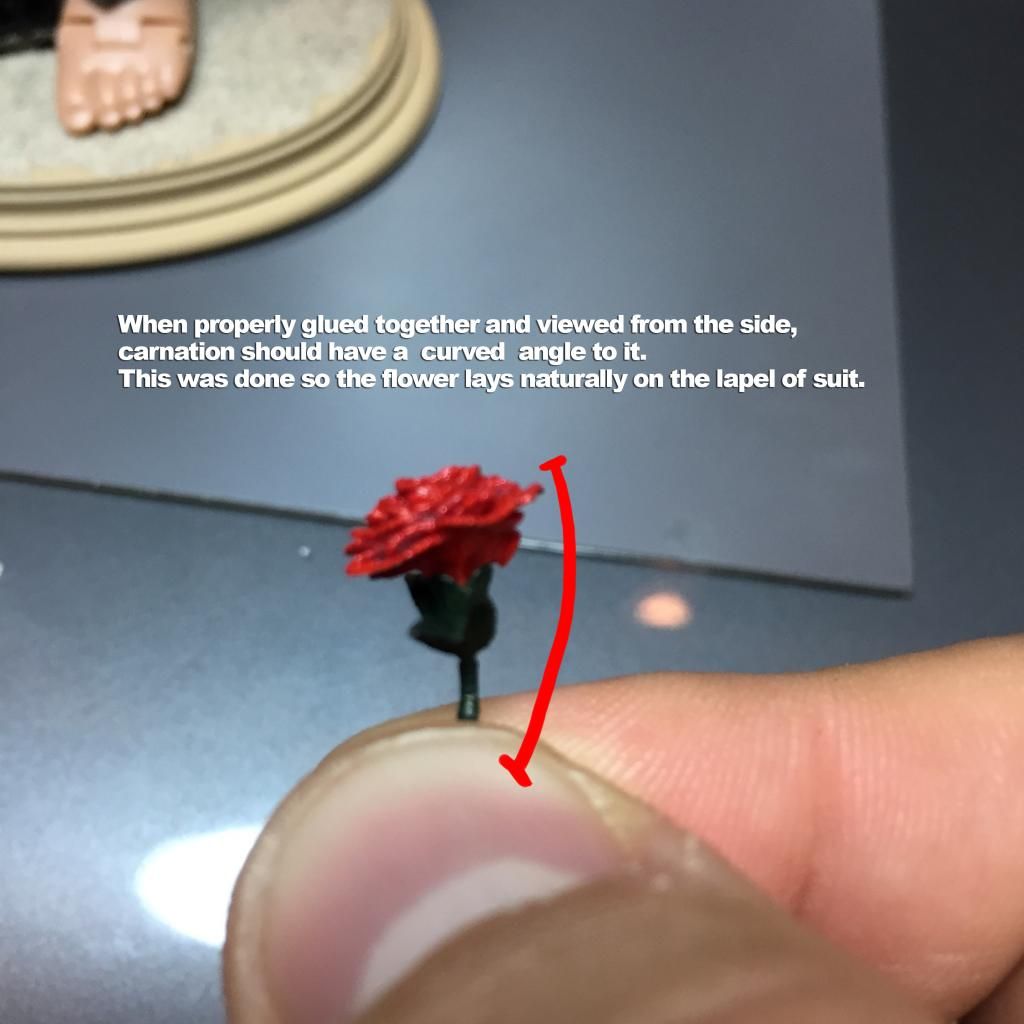
If you hold the stem to the side you will notice a slight curve to the design...That is on purpose so the carnation lies naturally on suit. See pics below for reference. The magnet part of course goes towards the back....I held the stem with my two fingers and place the flower part on top with the other hand..i put very small amounts of pressure on top of flower so it fit nicely in the stem cup...BUT always watching that I don't break it...let glue dry and BOOM...you are all set!
Enjoy!
:)


Last edited:
Back
Top