Jack Sparrow Bandanna

Custom One-Sixth Figures Forum

Help Support Custom One-Sixth Figures Forum:

This site may earn a commission from merchant affiliate links, including eBay, Amazon, and others.

witekite

Freaked Out!
Joined
Sep 4, 2009
Messages
660
Reaction score
0
Location
Phoenix
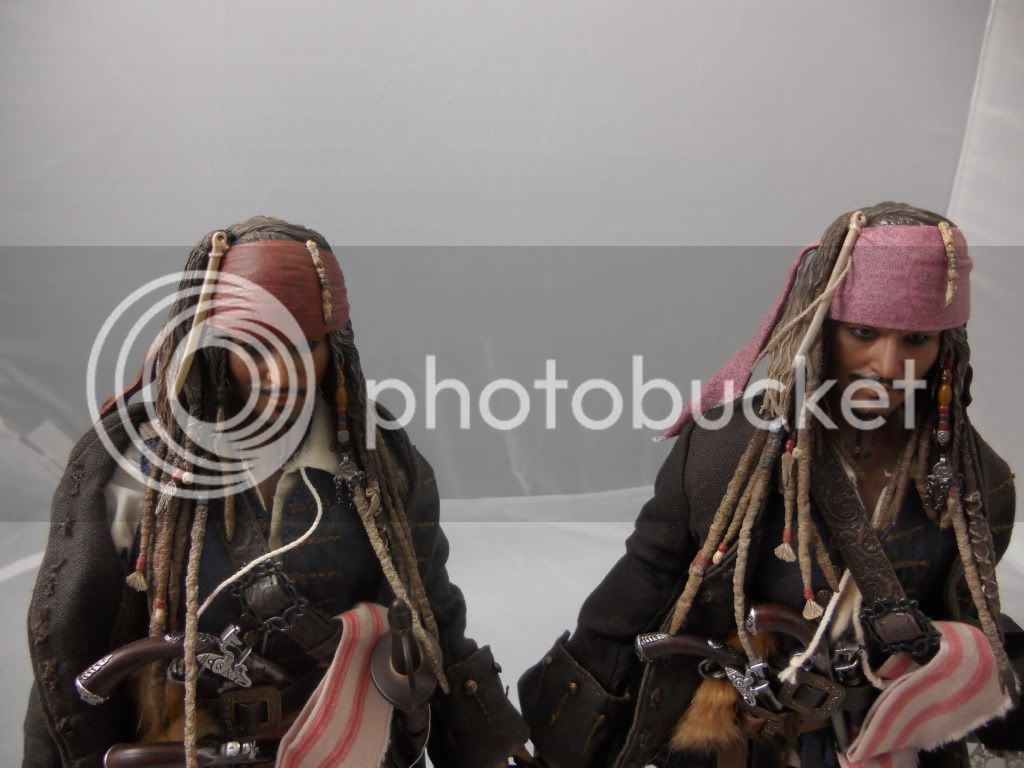
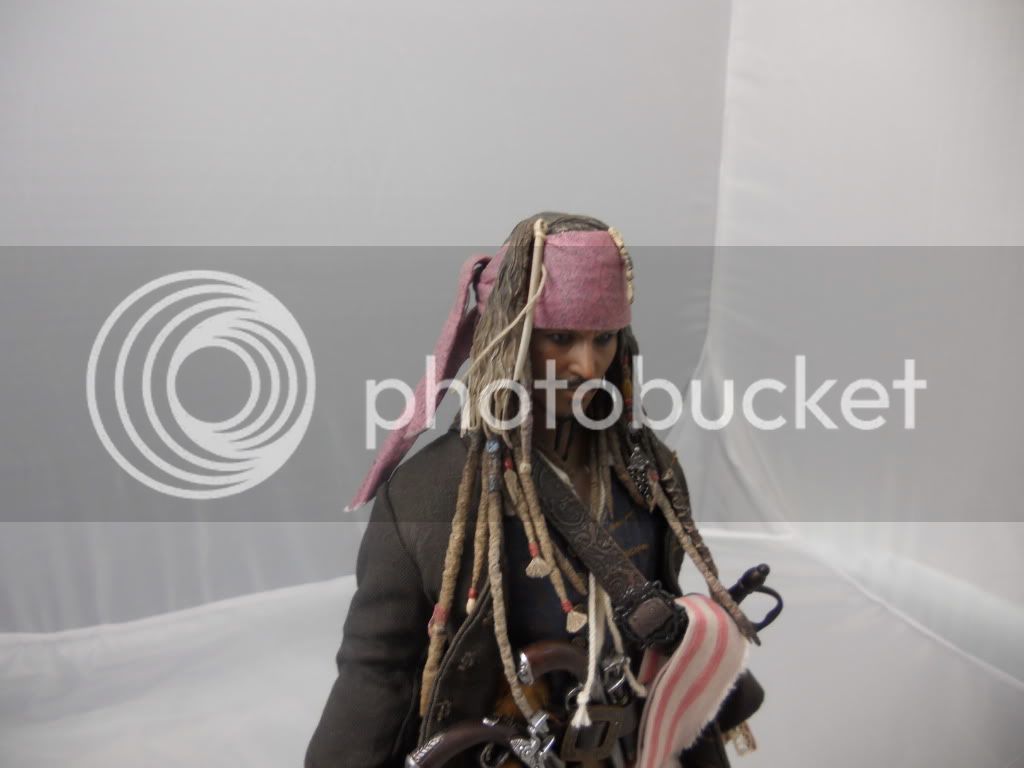
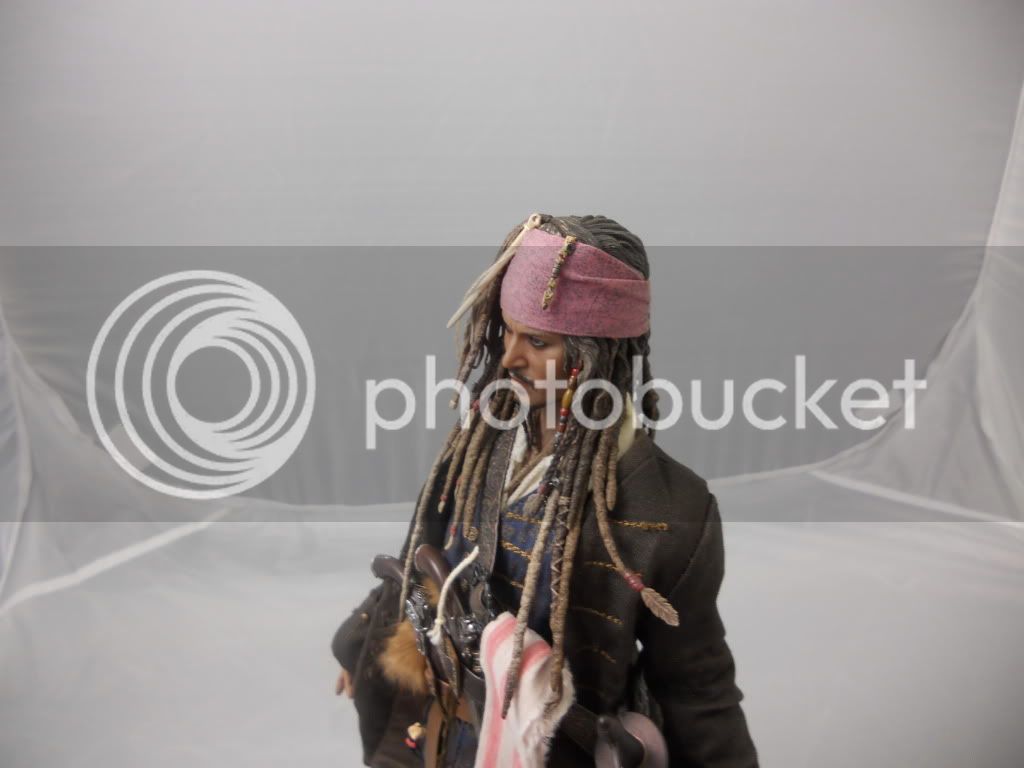
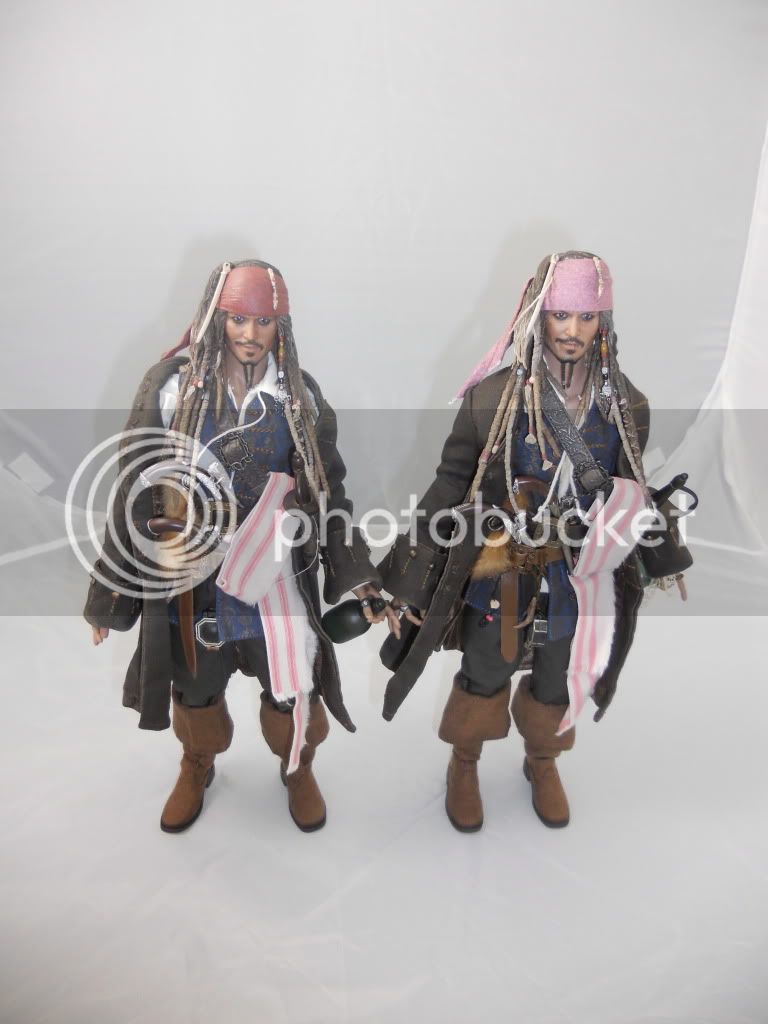
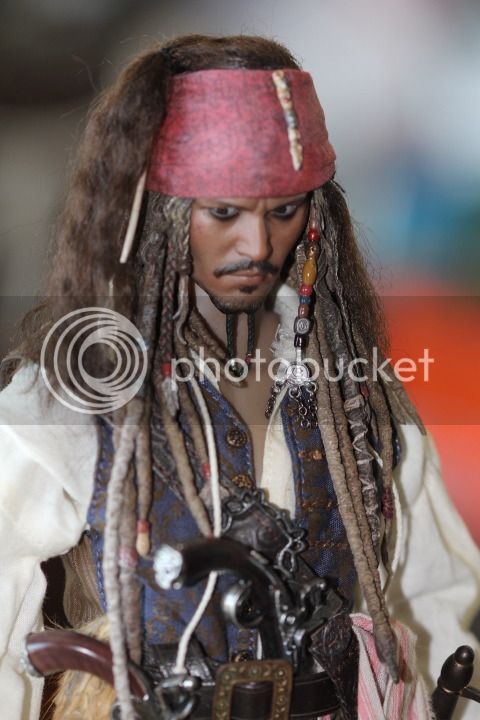
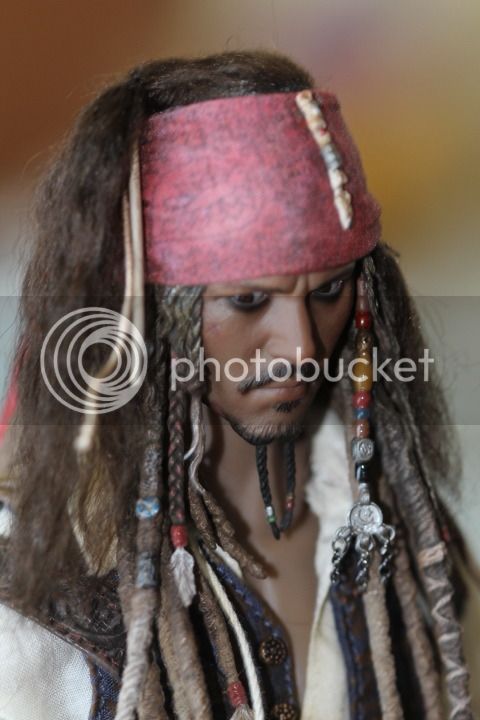
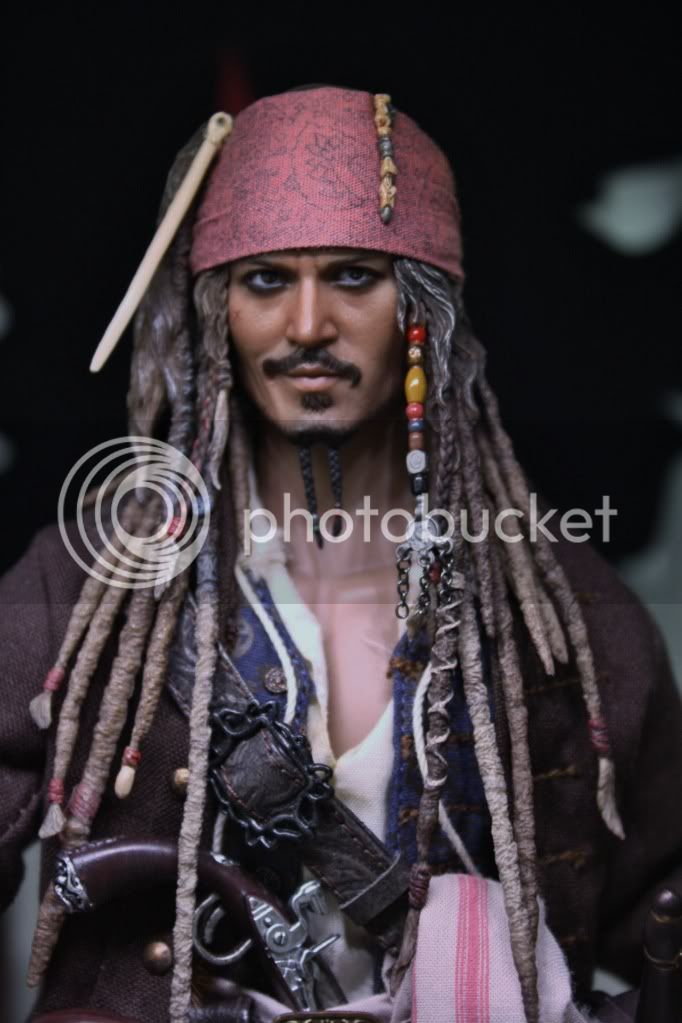
Hey guys here is the Jack Sparrow bandanna that I have for sale. It is made to go over the original bandanna that came with the HT DX Jack Sparrow. They are $10 each shipping included. PM me if you are interested.

I also did a little tutorial of what parts need to come off of the hair piece.

I worked on the color to try and make it darker and got it slightly darker than before. I can't go too dark or I will start to lose the detail of the pattern on the bandanna. I also found out that if you iron the bandanna do not use steam. It will fade the color and that is part of the reason my first one is lighter. I didn't realize that until I was working on this one.

On to the pics

First is just the original hair piece.
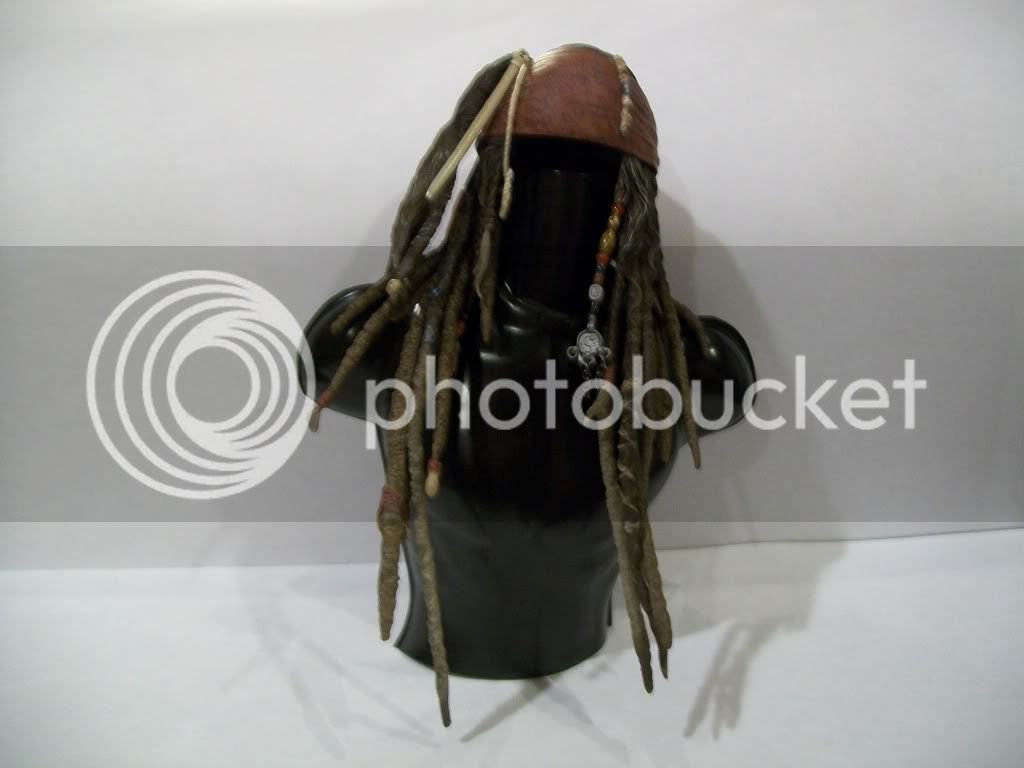
100_3875.jpg


Next you will need to lightly heat up the little bone beads on the front of the bandanna as well as the piece of hair that hangs over the front. You can do this with warm water or a hair dryer I used the hair dryer. The heat will loosen the glue so you can pull them off without damaging the parts.
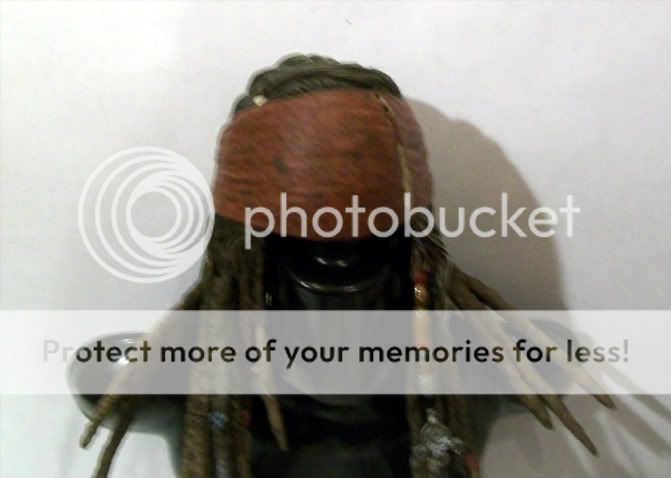
100_3877.jpg


Then do the same thing to the back of the hair piece and pull off the pony tail and the tails of the bandanna.
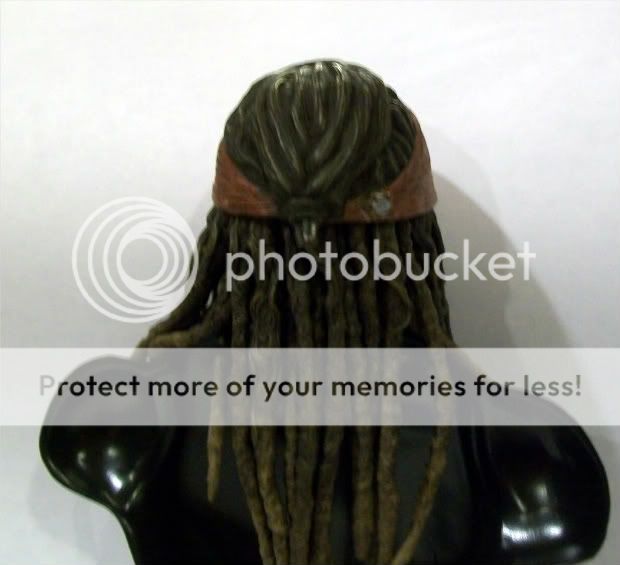
100_3878.jpg


You will then have all the parts removed from the hair piece that you will need to. We will only need to put back on the bone beads, front piece of hair, and ponytail.
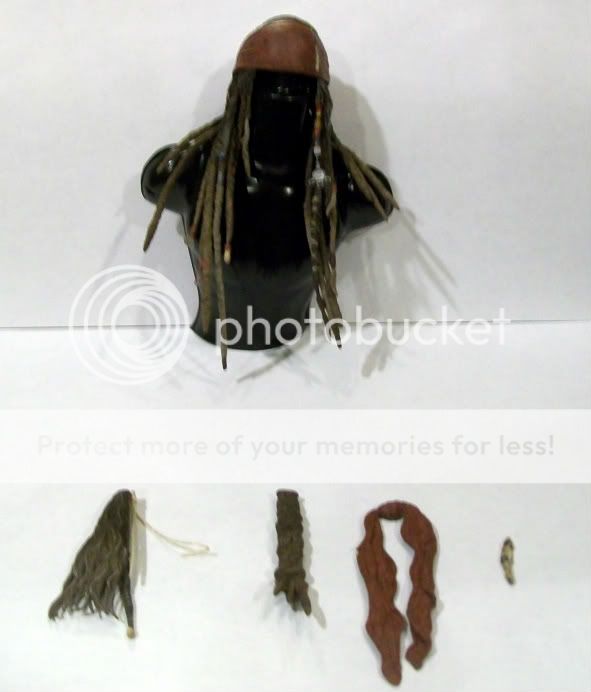
100_3876.jpg


Now here is the bandanna I lightly ironed the basic shape I needed and I will send them out this way. That way you won't have to futz as much to get started.
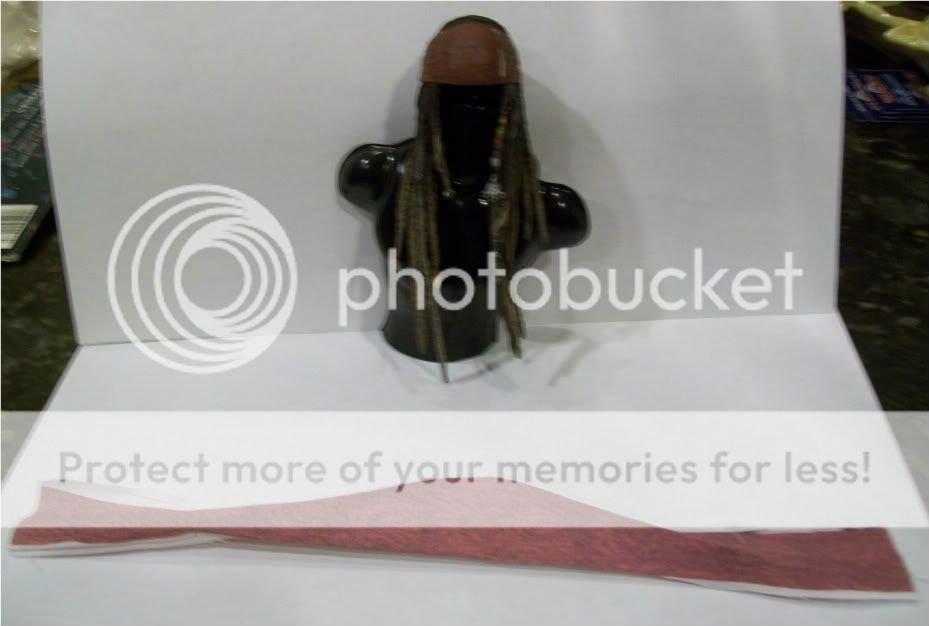
100_3879.jpg


Now comes the fun part of putting the bandanna on the sculpt. This will take a little playing with to get just right and you may need to do some trimming in certain areas. But overall it really shouldn't take more than 20 min to get it all on right.
100_3880.jpg

100_3882.jpg

100_3883.jpg


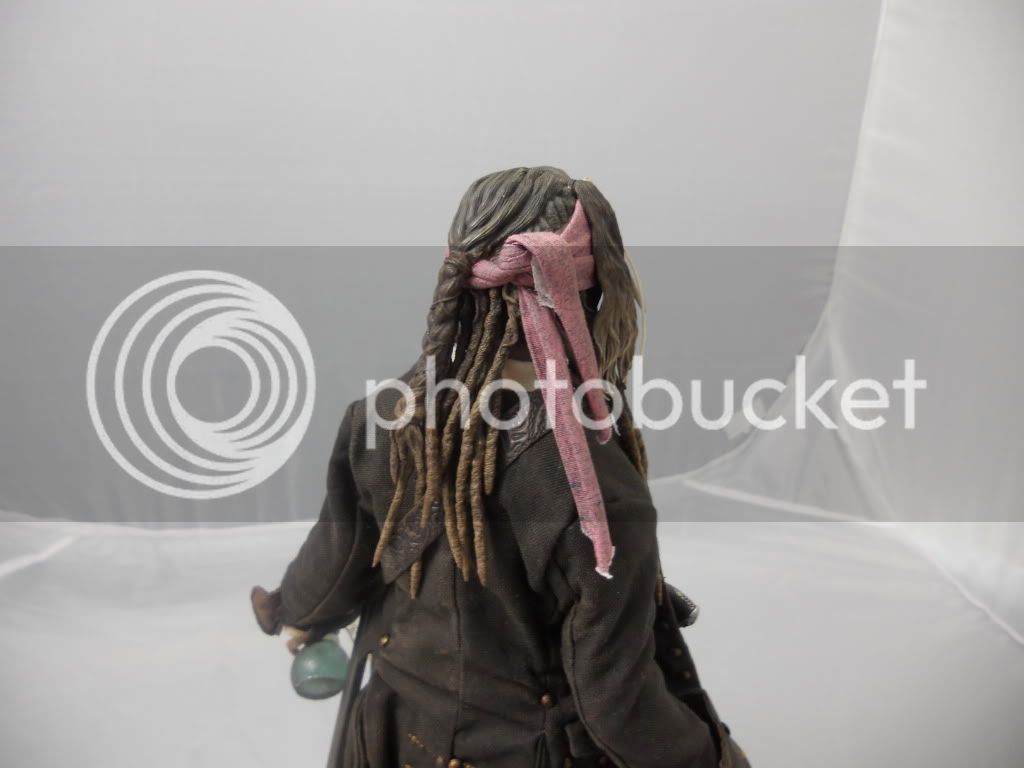
The knot in the back came out significantly better this time you just need to trim that area a little so it is slightly thinner and you can get a more realistic scaled knot.
 
Now here is all the parts put back on. You may want to slit a tiny hole where the bone beads go so they can plug in more flush to the bandanna.
100_3885.jpg

100_3886.jpg

100_3888.jpg


I hope this is a good enough tutorial for you guys to be able to put these on once they are available. I don't have the best camera in the world lol so bear with me :)
 
The measurements are 10" long and just over an 1"
This will allow you plenty of extra for a good fit.
They will come lightly ironed to shape of the HT DX Jack's bandanna.
I will do it lightly because I am sure some of you will also want to use these for other Jack's and I do not know the dimensions of those bandannas.
 
Sure do the color is a little light because of the lighting in the pics...but it really looks awesome in person my jack looks awesome in my display!


DSCN4404.jpg

DSCN4405.jpg

DSCN4406.jpg

DSCN4407.jpg
DSCN4402.jpg
 
Looks great man! I'll be sending you a PM soonish after I get some things worked out
 

these look great!! my only critique is that the bottom edge of the banny could maybe be curved a little more. just like the top edge is. the side by side pics, 2 posts above (post #5) show the bottom edge a bit straighter than the original sculpted bandanna. not really a biggy, just an observation. i really like these and will get 1 or 2.

curious tho,
i know earlier you'd mentioned that you had done the banny both ways; one Dremmeling off the old banny, and as above, putting the cloth over the old banny. do you now see no reason to dremmel off the old one?
does the hat still fit with this added thickness of the cloth banny? thanks!
 
Chris you need to worry about rereleasing your joker socks. :lol :lol
Just kidding buddy!


Can't wait to get these. Very excited here!
 
Hi received mine yesterday. A little different than I had imagined it, so I'd like to ask a few questions.

1 Since the color/design is only printed on one side, what do you do about the white showing on the tail once you've tied/twisted in the back ?
do you paint ? or fold and glue ?
2 Do you trim the white off the horizontal top and bottom before or after applying ?
3 I had presumed i would tuck the bottom under above the forehead
do you recommend that ?
or should the bandana be folded in half ?
or just folded in at top and bottom ?
or are you going entirely with a trim method ?

4 I know you mentioned not to use a steam on the iron.
Can the material be water soaked, or soaked in hairspray or glued in anyway ?

5 Lastly are you applying yours purely with tension tying or are you applying a glue on the old molded bandana ?

Thanks, any help appreciated
 
hello,

got my bandana..thanks again witekite ! just a few observations..
you mentioned that it will be ironed when we get it but mine was not and I pm'ed you about the length if it's long enough that i can put the tail in front of the figure when it's tied but it wasn't and lastly..I was really thinking that it was printed on both side but I guess I should have asked but other than those..it's pretty workable..

here's a pic of mine..notice that mine is redder cause i used clear red paint to brighten it up a bit
IMG_0100.jpg
IMG_0110.jpg
 
good questions glad you asked them.
1 I folded over the bandanna parts on each other and then used a small amount of glue.
2 Leave that extra white it gives you a bit more material to work with when you fold the edges over.
3 I did not tuck mine but you could do that if you wanted. The bandanna should be folded at the top and bottom. That is why the little section of white was left over so you had something extra to fold with makes it a little easier.
4 I would not water soak it that could make the ink used to run and ruin the print. I am not sure about hairspray but it can be glued yes. I did glue mine in some areas lightly to hold it in place.
5 I have actually applied the bandanna both ways with tension and with glue. The easiest way is with a light amount of glue. It just helps hold it in place when you are trying to stretch it around.

Hope that answers your questions!!!
 
hello,

got my bandana..thanks again witekite ! just a few observations..
you mentioned that it will be ironed when we get it but mine was not and I pm'ed you about the length if it's long enough that i can put the tail in front of the figure when it's tied but it wasn't and lastly..I was really thinking that it was printed on both side but I guess I should have asked but other than those..it's pretty workable..

here's a pic of mine..notice that mine is redder cause i used clear red paint to brighten it up a bit
IMG_0100.jpg
IMG_0110.jpg

Hey r5150s very cool what you did with the bandanna. I appreciate your observations on the bandanna. I must have forgotten to iron out yours man my bad. as for the tails not being long enough did you tie them off on the back of the head or slightly to the side like how the DX Jack had them originally? I was able to get mine to reach to the front but maybe you were looking for a bit more lenght. As for printing on both sides. the material I use has a paper backing so I can run it through the printer so I am unable to print on the back. I wish I could I thought about doubling up the material to have print on both sides but that would make it too thick to look right in the scale. Overall I am glad you like how they are I wish I could make it a tad longer and print on both sides but alas I am limited by what my printer wants to do.

I have to offer compliments to your real hair though looks awesome man!!! I haven't seen many real hair heads pulled off well but this one works super job. Also what kind of clear red paint did you use to darken the bandannas this may be a good idea for those who may want a slightly darker bandanna. I prefelr a little faded but this would give people the option for their desired shade.

Aslo these are still available for those who are interested in getting one still. As you can see with a little work they can look pretty awesome and set this already awesome figure off
 
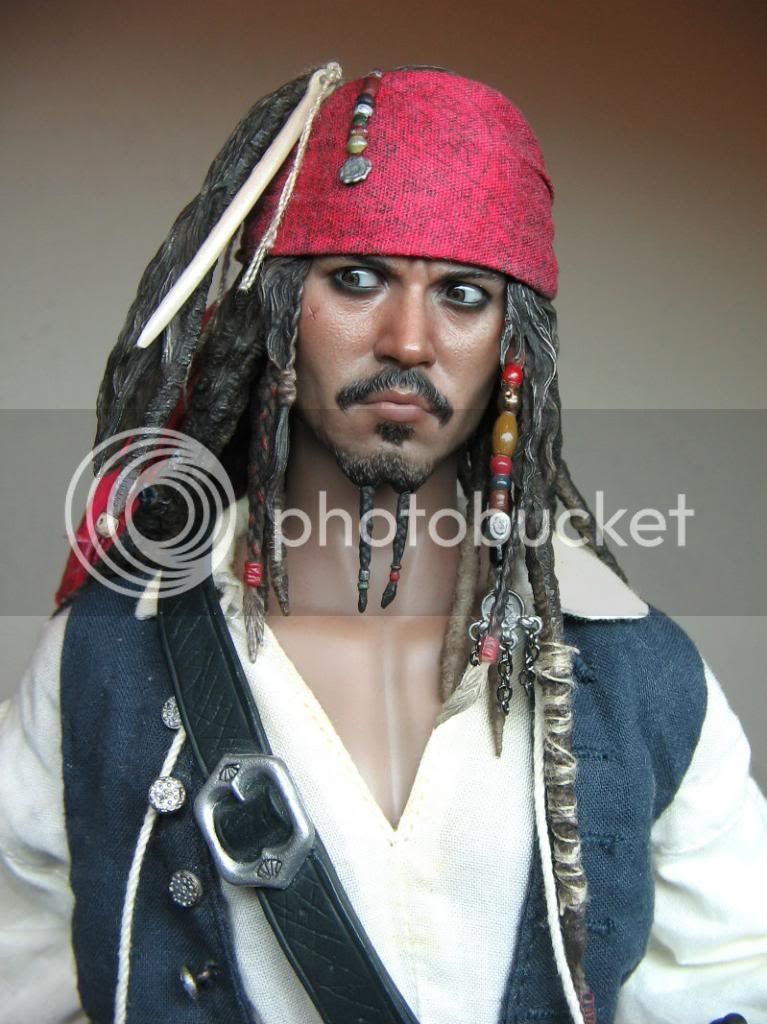
A good reason to post these again. I ruined one because I cut the white parts off. This is the result of my second attempt. Love the way it looks. Totally upgrades the already awesome head sculpt. Thanks again Wite.
collection120-1.jpg

collection116-1.jpg
 
Back
Top