ANH Buckets

Custom One-Sixth Figures Forum

Help Support Custom One-Sixth Figures Forum:

This site may earn a commission from merchant affiliate links, including eBay, Amazon, and others.
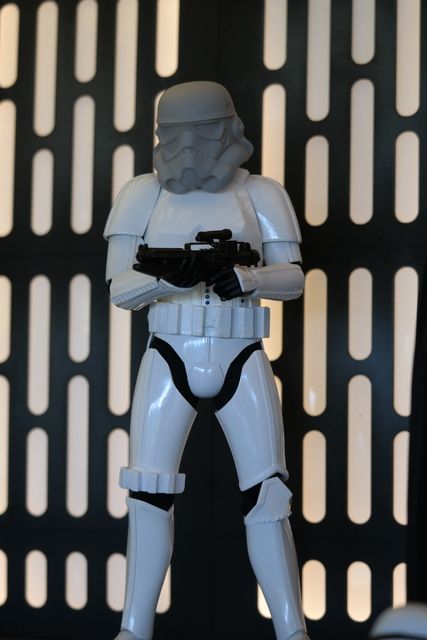
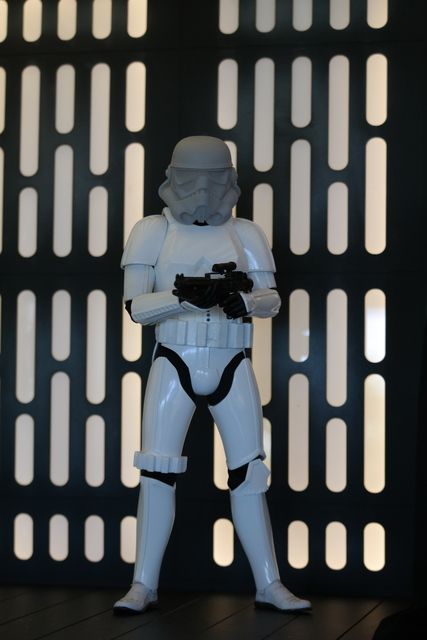
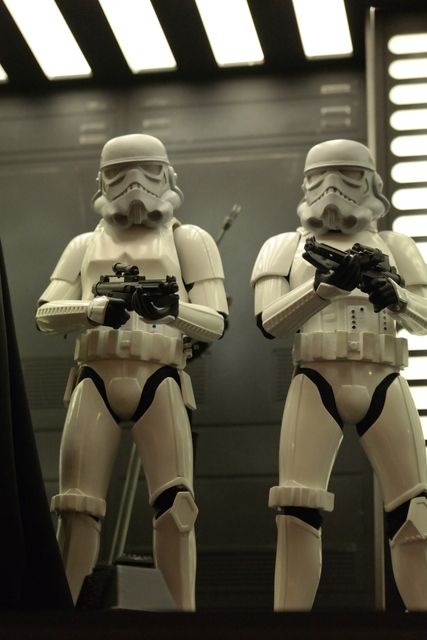
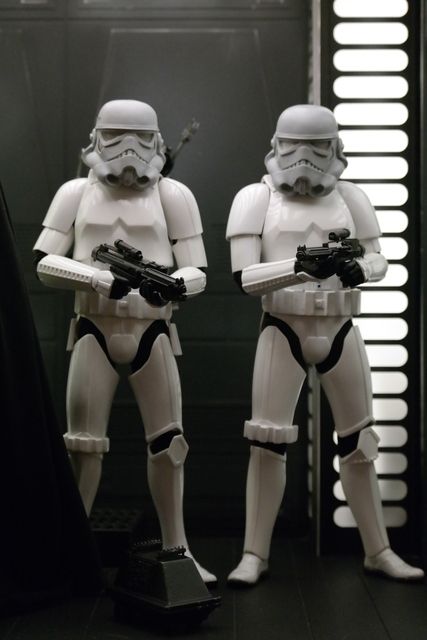
The Hot Toys stormtroopers have always had incorrect proportions. They're great figures, but to be screen-accurate to ANH both the base bodies and the armour itself would have to be slimmer.

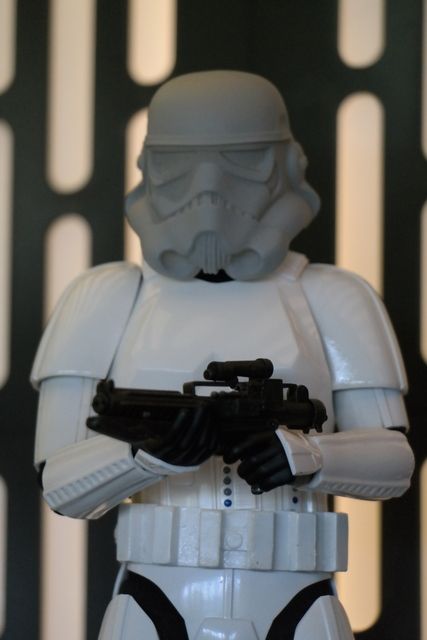
A larger helmet will go some way towards alleviating that "beefcake" issue, and having experimented with various body swaps, I can tell you there are better (slimmer) options out there that will also help.

Yep, totally. I've experimented with a few bodies and I guess it depends on the look you prefer. I think the HT trooper was perfect for Luke and the Han body seemed pretty good for him as well. But it seemed the Stormtroopers were taller and thinner most of the time....sometimes short...but always thinner, it seemed. Anyway, personal preference I suppose. I ended up settling on a combo if HT and Marmit parts on a slim body for the look I like best.
 
Hi solo-bones, love your enthusiasm with this project, i get a buzz checking this thread for updates on your progress! I recently got a shapeways trooper lid(polished) but it still needs smoothing out. What methods do you apply to achieve a smooth finish on yours?

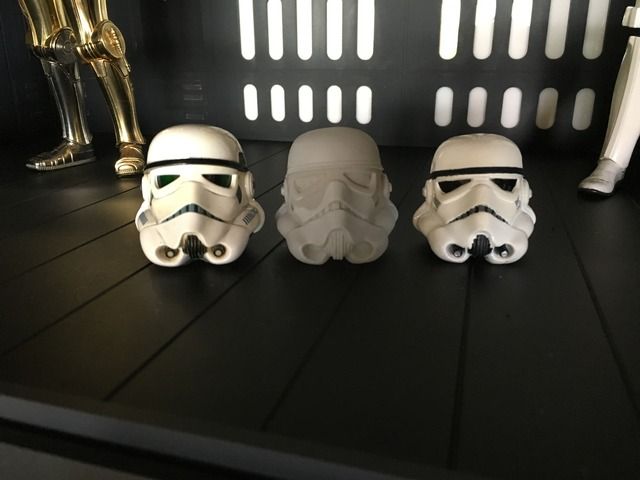
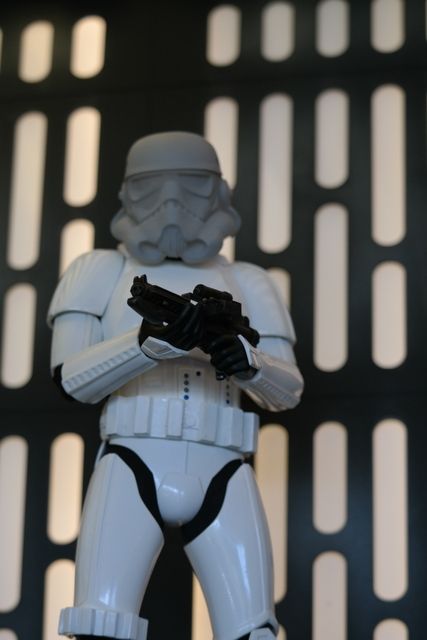
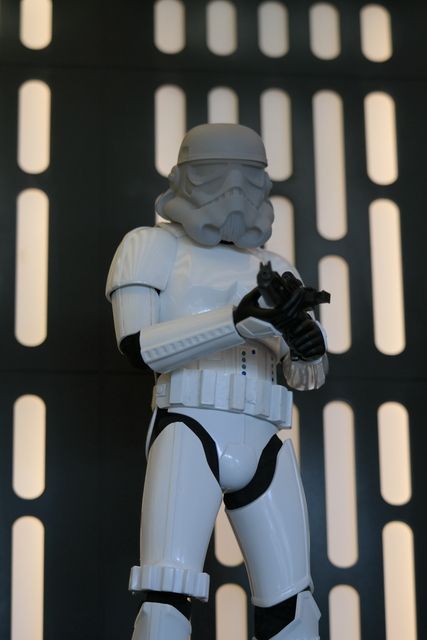
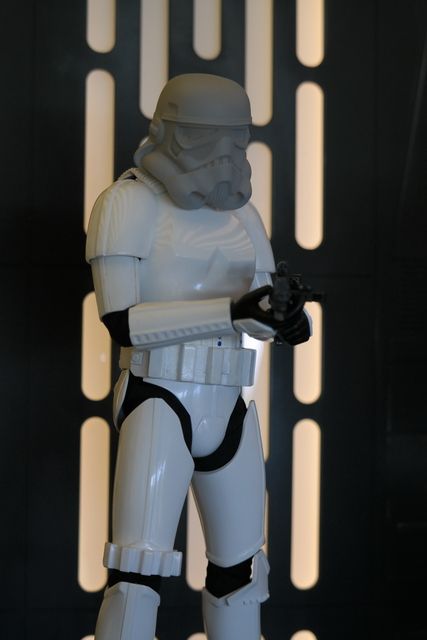
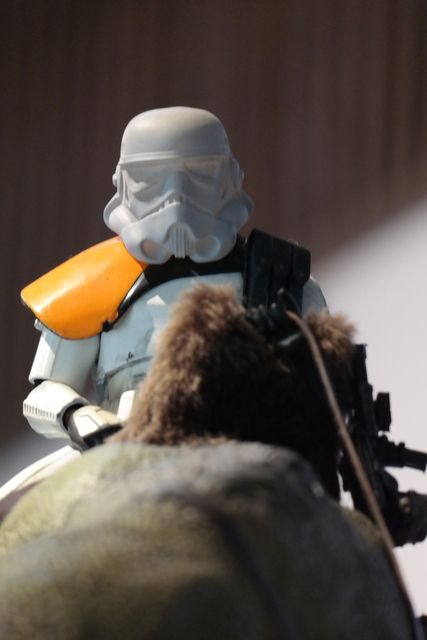
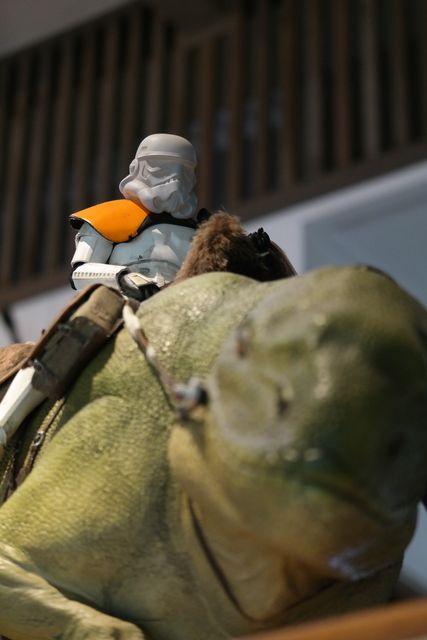
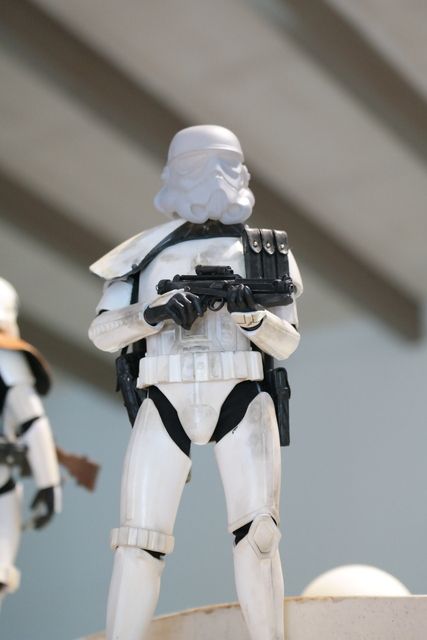
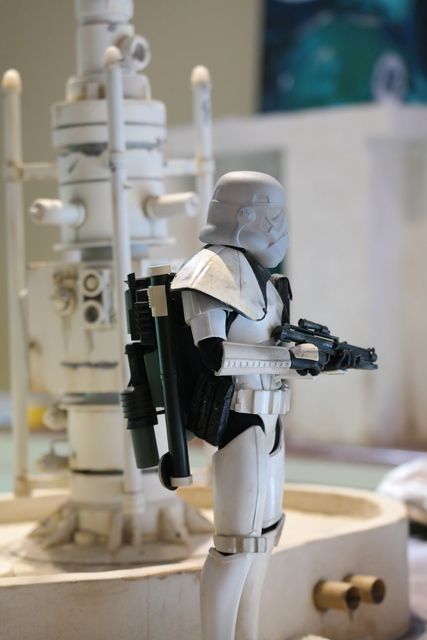
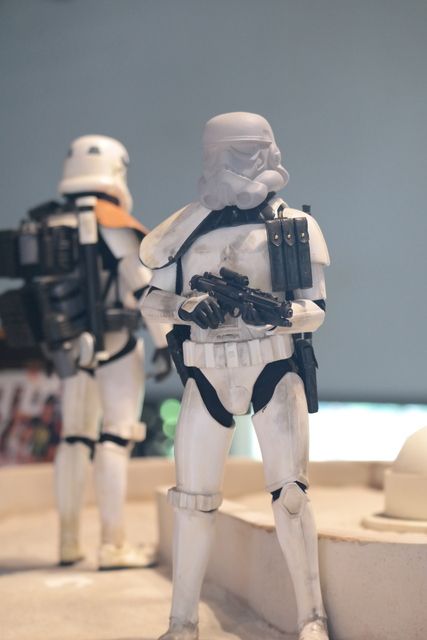
View attachment 286035
View attachment 286036
View attachment 286037

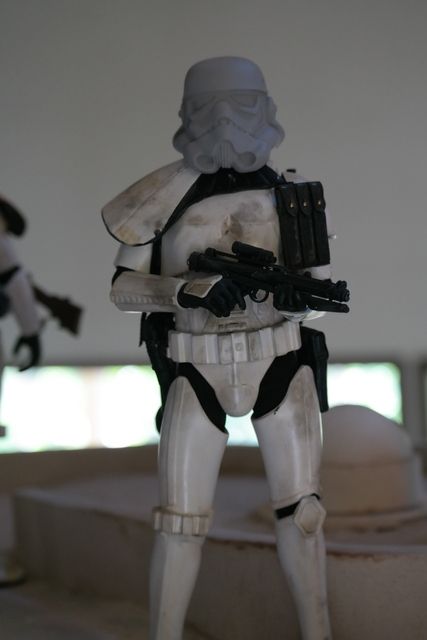
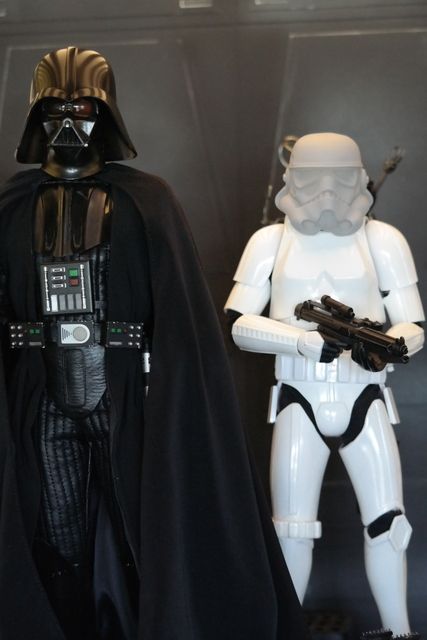
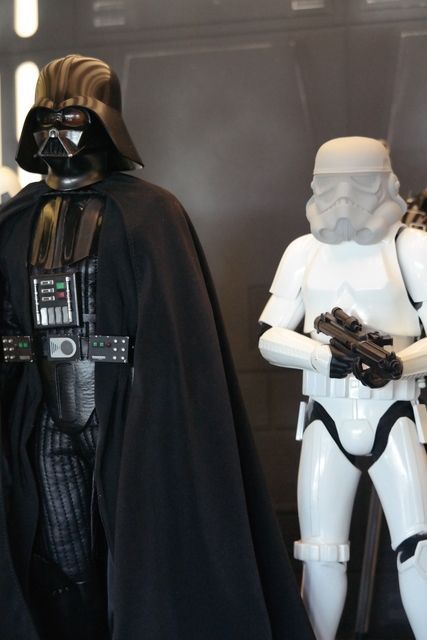
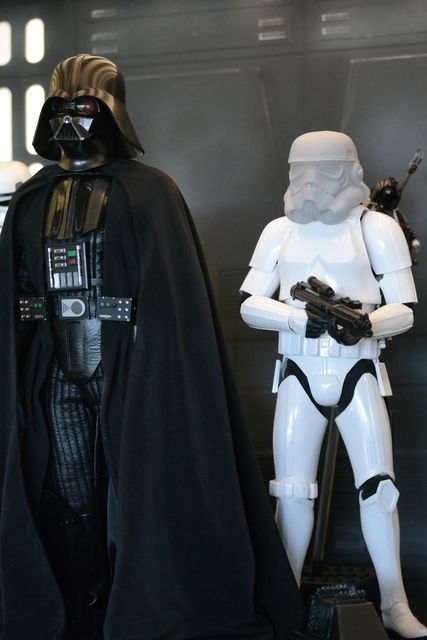
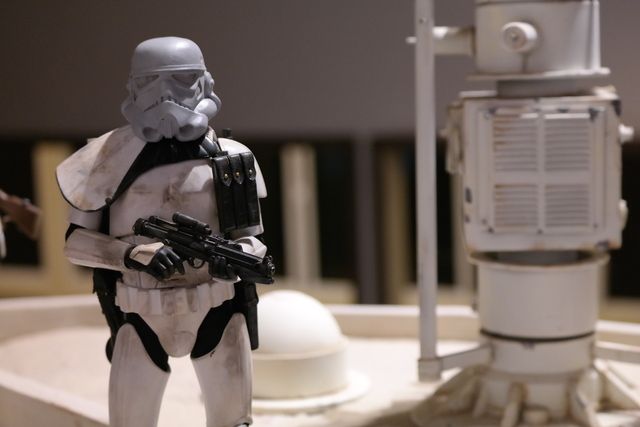
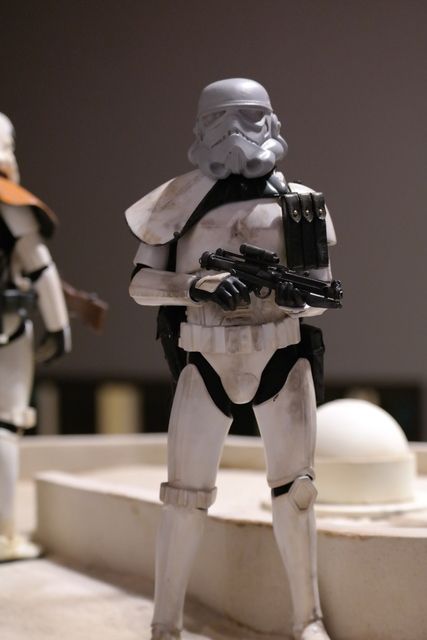
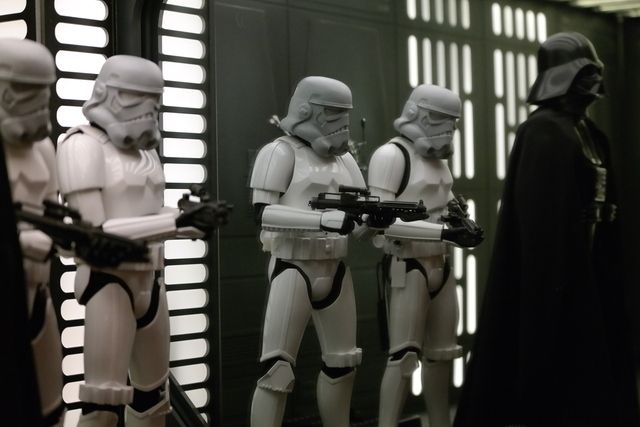
Nice collection, brother! You are going to love this helmet once you start painting it and putting on that Marmit. I think this helmet size is just abut perfect for the Marmit, provided you use a slim body. I absolutely love this project. I'm so stoked to look at my Stormtrooper next to Darth Vader now. It just looks authentic, finally.

I used Mr. Surfacer 1200 to smooth it out. You essentially just paint it on a little bit at a time until you start to see it smooth out, then sand it down. Be careful not to goop it on, just brush it on and it dries really fast, then you can go over it again where it still bumpy and rough. I did a few coats then sanded and went over the tough spots again and sanded down again before I painted. I think I put too many coats of paint on this one because I screwed up while painting and grabbed the wrong spray can and put the wrong white over it so I had to put 2 more coats than I normally would have. That's why I lost some detail.

If you need more details on how I painted the detail, let me know. I'm still planning to do stickers for the cheeks and temple dimples. That's the blue marks on check and grey and black paint in the dimples....as soon as I figure out my new printer.
 
image.jpg
 
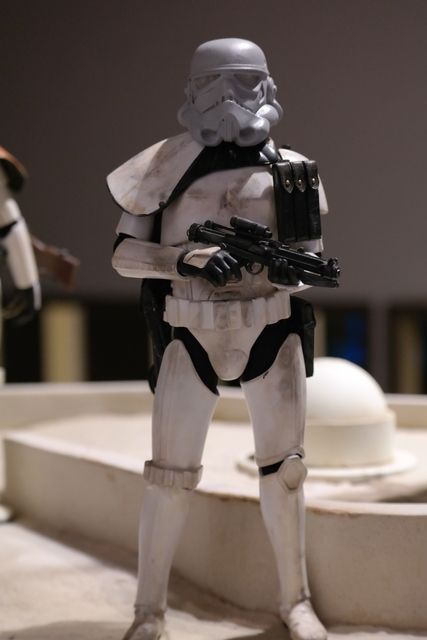
I just received one of the two new helmets. One apparently is stuck somewhere in NY, supposedly shipped on the same day...but, anyway. I think I received the larger of the two......it's a thing of beauty. Perfect for the HT body. Photos coming.
 
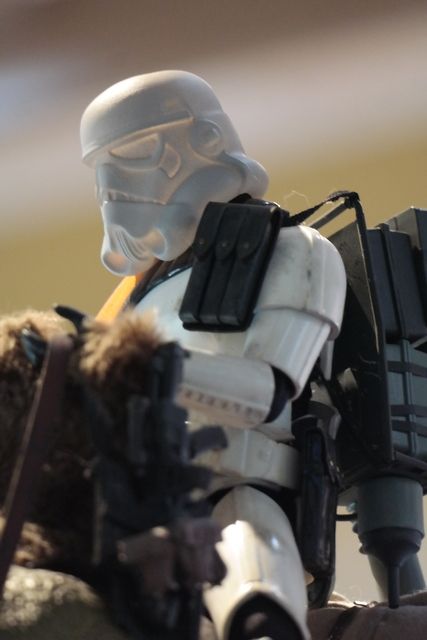
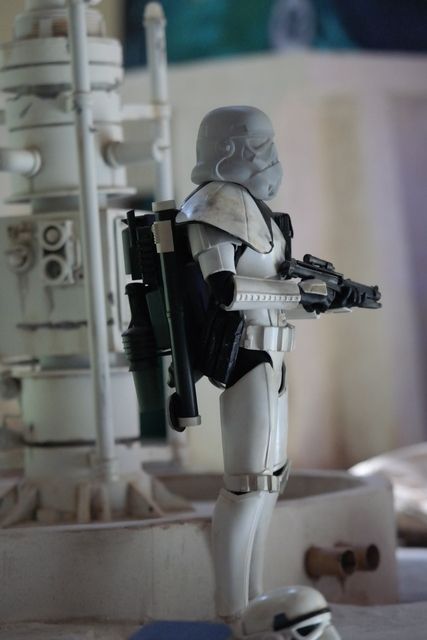
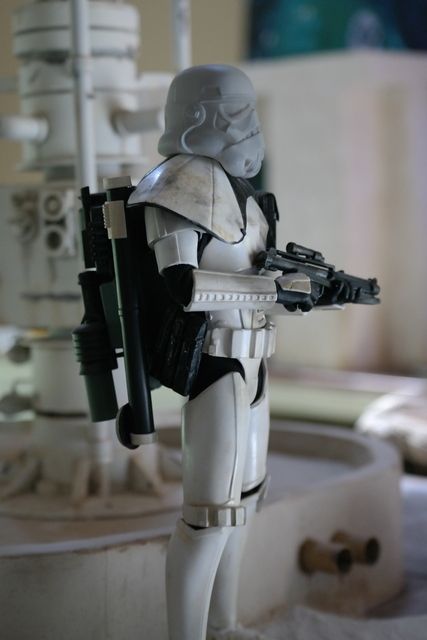
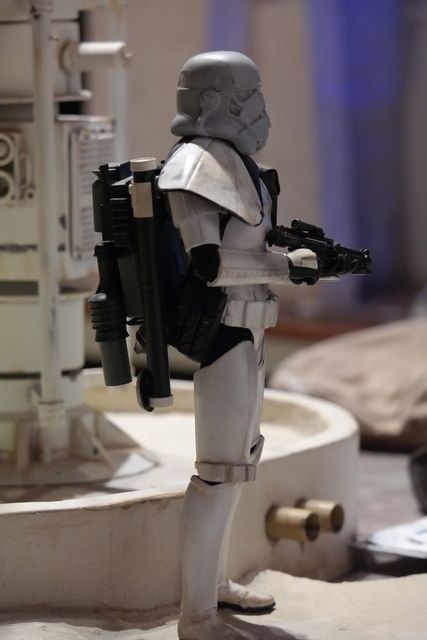
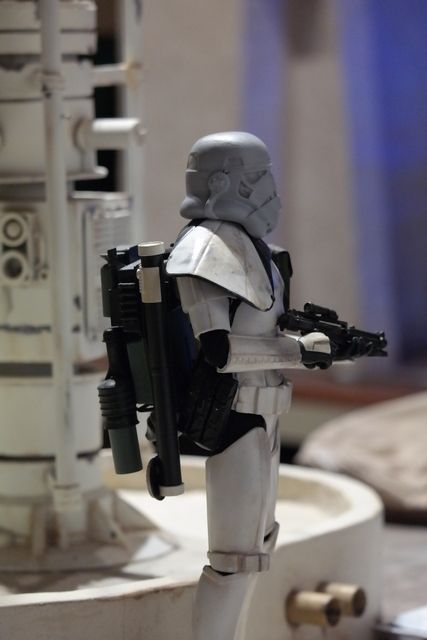
Yep that's it! We're there!!! Perfect size IMO That side view of it on you're sandtrooper :yess: good work Solo :clap
 
Nice collection, brother! You are going to love this helmet once you start painting it and putting on that Marmit. I think this helmet size is just abut perfect for the Marmit, provided you use a slim body. I absolutely love this project. I'm so stoked to look at my Stormtrooper next to Darth Vader now. It just looks authentic, finally.

I used Mr. Surfacer 1200 to smooth it out. You essentially just paint it on a little bit at a time until you start to see it smooth out, then sand it down. Be careful not to goop it on, just brush it on and it dries really fast, then you can go over it again where it still bumpy and rough. I did a few coats then sanded and went over the tough spots again and sanded down again before I painted. I think I put too many coats of paint on this one because I screwed up while painting and grabbed the wrong spray can and put the wrong white over it so I had to put 2 more coats than I normally would have. That's why I lost some detail.

If you need more details on how I painted the detail, let me know. I'm still planning to do stickers for the cheeks and temple dimples. That's the blue marks on check and grey and black paint in the dimples....as soon as I figure out my new printer.

Thank you for sharing the smoothing method, & i'm super excited to see your decals!
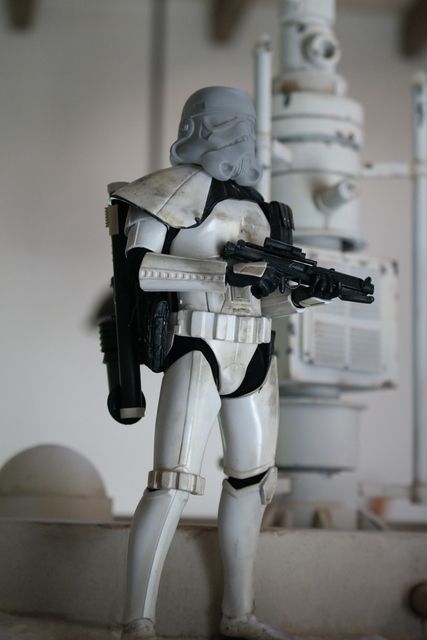
Wow! your new up-scaled helmet is Perfect! Photos look fantastic:clap
 
Yep that's it! We're there!!! Perfect size IMO That side view of it on you're sandtrooper :yess: good work Solo :clap

Yeah, that side shot of the Sandtrooper sold it for me, at least on that figure. I think the 1MM increase will be good for the thinner guys where you want a smaller helmet look. It will be good to have variations, for sure. If we can cast enough we can also cut away the helmet from the mask and then create a Sandtrooper with the brow look.....that would be cool.
 
Yeah, that side shot of the Sandtrooper sold it for me, at least on that figure. I think the 1MM increase will be good for the thinner guys where you want a smaller helmet look. It will be good to have variations, for sure. If we can cast enough we can also cut away the helmet from the mask and then create a Sandtrooper with the brow look.....that would be cool.

That sounds like a great idea. It would then be possible to create all the sandtrooper variations i.e "move along" etc.. and also we could mod the eyes for that ESB look.
 
New one looks perfect. We wants it. :gollum:

So is this size up on Shapeways now? How do we gets the precious?
 
The size on Shapeways now is the 1MM increase, the one above is the 2MM.

So you can either reach out to the image owner or wait for casts.
 
That looks great Will. Very nice!!

Thanks, brother! I'm so stoked about this project, even thought it's tons of effort. The HT buckets are so well made and detailed......but the accuracy of these outweighs all of that when it comes to taking photos and posing these guys. I really am looking forward to working on lenses and figuring out how to paint better.
 
I guess I'm in for both routes. :panic:


Yeah man, do it! I just got the 1mm increase helmet today. I like the look of this one too, especially on the smaller slim body. I'll take photos later...after I put some Mr. Surfacer on them.

Don't forget to wash these prints really well with soap or alcohol. The media will not allow paint to stick to it if you don't wash it really, really well.....at least on this new media I am using. I believe it's super detail.
 
Hey Solo, they look great mate. For me I think the 2mm increase is the perfect size although the 1mm increase also looks very good. I'm just wondering if there's anyone out there that might be able to "sharpen" the detailing on certain areas of the print before we start looking at making casts?

Also what type of slim body you would suggest for swapping the armour onto? I found these on ebay last night. Not sure if the hand connectors etc.. would be compatible with HT connectors but they are so cheap I may just buy one and see. What do you think? https://www.ebay.co.uk/itm/131376974745?_trksid=p2060353.m1438.l2649&ssPageName=STRK:MEBIDX:IT
 
Yeah, 2mm looks great to me. Can you post up-quite close pics to get an idea of detailing and/or surface roughness?

The one issue is that stormie armor is so smooth and clean. For a sandie a little roughness may be okay.

This is really funny - got my Jnix Han head last week... now moving on to the next HT head that needs replacing.:lol
 
Back
Top